(Writer document with 3 level headings applied and Navigator shows them on right-side panel)
Subscribe to UbuntuBuzz Telegram Channel to get article updates directly.
1. Headings and Heading Levels
What are they used for?
- To ease navigation, as a heading is a jump point in a long document.
- To ease writing, as same styles do not need to repeatedly re-created.
- To ease reading, as one can make as tidy or as beautiful as possible document look.
- To follow standard, as academic papers like the one with APA Style are standardized.
What are levels of headings? Different levels show different importance of text sections. Some text sections may be main point, some others are subpoint. Like that.
2. With and Without Headings
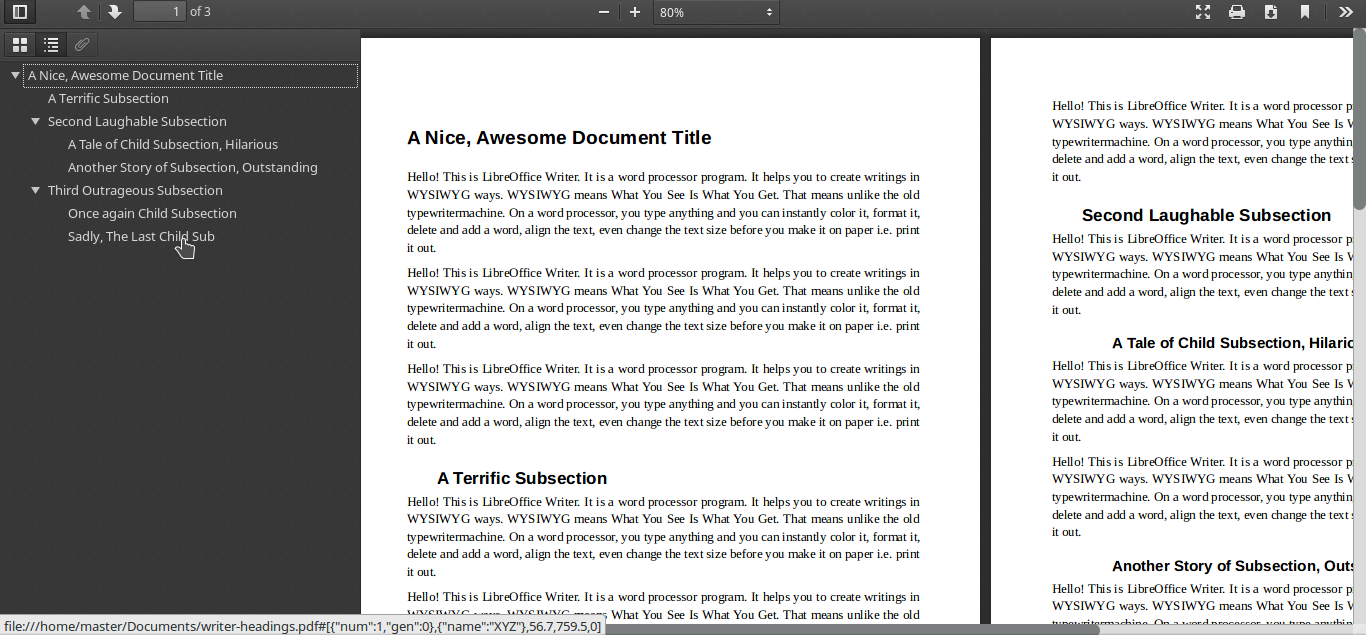
Here is a 3 pages document with 3 levels of heading. See below how they look like on Navigator. See also below how it looks like as PDF document viewed on PDF reader. With headings, you mark points in your document which can be used as navigation.
Here is that document after exported as PDF and displayed on PDF reader. See the left panel (often called "Outline" or "Index"). That is generated automatically thanks to headings. Web browsers nowadays can display PDF too and so do they display the Outline panel.

On the contrary, without headings we can still write document but it could not easily be navigated when become long and exported document will not show outline. A long document without headings requires you to scroll over and over again to go to certain point. Pictures below showing both PDF reader and web browser display only page preview and not Outline.
3. Navigation
Headings form "jump points" automatically on Navigator panel. Double-clicking a point will jump your view to section right under that heading. You do not have to scroll up/down over and over to go to a certain section. If your document is long enough, let's say 100 pages, they are helpful to navigate quickly.
4. Apply Headings
- Select a title text.
- Click drop-down box of Default Style.
- Several headings choices displayed.
- Select Heading 1.
- Or, select Heading 2.
- Or, select Heading 3.
- Now selected text formatted as heading chosen.
- Repeat steps above for another texts.
5. Normalize A Heading
- Select a formatted heading.
- Click headings drop down > select Default Style.
- Selected text normalized.
6. Custom Heading
You can create your own headings with a certain set of rules such as APA Styles or other standards. For example, you can name the heading, set specific font, indentation and spacing, and horizontal line and color. Instructions below gives a generic example in making a custom heading --but not limited to these, you can add up more stuffs as well--.
- Select a preset heading.
- Right-click > Modify.
- On Organizer Tab (picture A), rename it.
- On Fonts tab (picture B), set the font choices.
- On Indentation tab (picture C), set first line indent and also before/after text spacing.
- On Border tab (picture D), set bottom line only and give it a certain color e.g. Turqoise.
- OK.
- A new heading created.
- Repeat steps above to create another headings.
Picture 5.1
((A) Organizer tab | (B) Font tab | (C) Indent & Spacing tab | (D) Borders tab)
Summary
Now you can make your document better with headings. You can also create your own headings. Next time we will learn more about Paragraph Styles. Happy writing!
This article is licensed under CC BY-SA 3.0.


